| Wallabag安装使用(Ubuntu平台原生搭建教程,非Docker) | 您所在的位置:网站首页 › ubuntu 扩展 › Wallabag安装使用(Ubuntu平台原生搭建教程,非Docker) |
Wallabag安装使用(Ubuntu平台原生搭建教程,非Docker)
|
目录 简介Wallabag 是一款开源的网络书签、稍后阅读工具,自带 1460 个网站匹配规则,可通过浏览器、手机、Kindle 等方式进行内容收藏,支持自动标签规则让分类更简单,最有意思的是,wallabag 支持生成 RSS,让你在 RSS 阅读器中阅读自己保存的文章。 Github地址:https://github.com/wallabag/wallabag 官方文档地址:https://doc.wallabag.org/ 前期准备1. Composer php -r "copy('https://getcomposer.org/installer', 'composer-setup.php');" php -r "if (hash_file('sha384', 'composer-setup.php') === '55ce33d7678c5a611085589f1f3ddf8b3c52d662cd01d4ba75c0ee0459970c2200a51f492d557530c71c15d8dba01eae') { echo 'Installer verified'; } else { echo 'Installer corrupt'; unlink('composer-setup.php'); } echo PHP_EOL;" php composer-setup.php php -r "unlink('composer-setup.php');" sudo mv composer.phar /usr/local/bin/composer2. 安装MySQL或者postgreSQL并创建数据库 MySQL apt install mariadb-server mysql use mysql create database wallabag; create user 'wallabag'@'localhost' identified by 'password'; grant all privileges on wallabag.* to 'wallabag'@'localhost'; flush privileges; exitpostgreSQL apt install postgresql sudo -i -u postgres psql -c "CREATE DATABASE wallabag;" sudo -i -u postgres psql -c "CREATE USER wallabag WITH password 'password';" sudo -i -u postgres psql -c "GRANT ALL privileges ON DATABASE wallabag TO wallabag;"3. 其他(php、nginx或者apache2) PHP需要安装以下扩展: php-session php-ctype php-dom php-hash php-simplexml php-json php-gd php-mbstring php-xml php-tidy php-iconv php-curl php-gettext php-tokenizer php-bcmath php-intl php-fpm 下载 git clone https://github.com/wallabag/wallabag.git 安装官方文档 中的命令为: 在 wallabag 文件夹中运行: make install但是在我测试时,根本无法安装。会有如下提示: Do not run this script as root! Use --ignore-root-warning to ignore this error. make: *** [GNUmakefile:21: install] Error 1
即使使用 make install --ignore-root-warning 也是报错。 因此,我们直接在 wallabag 文件夹中运行: composer install
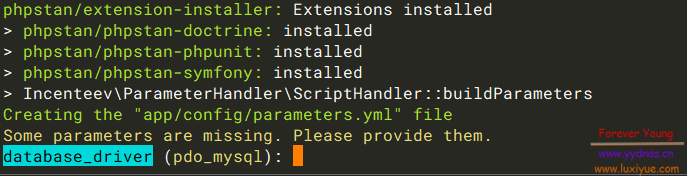
然后根据显示的信息进行配置: 数据库 database_driver (pdo_mysql): pgsql #根据你配置的数据库填写,可以是默认的pdo_mysql database_host (127.0.0.1): #数据库地址 database_port (null): 5432 #数据库端口,mysql就是3306 database_name (wallabag): #数据库名称 database_user (root): wallabag #数据库用户名 database_password (null): password #数据库密码 database_path (null): #数据库路径 database_table_prefix (wallabag_): #数据库前缀 database_socket (null): #数据库socket database_charset (utf8mb4): #数据库编码,with PostgreSQL and SQLite, you must set "utf8"域名 domain_name ('https://your-wallabag-url-instance.com'): https://wallabag.yydnas.cn #很重要!填写全部网址,带http或者https,不能少 server_name ('Your wallabag instance'): wallabag.yydnas.cn邮箱、缓存以及一些杂项(这些可以直接跳过,一直回车) mailer_dsn ('smtp://127.0.0.1'): locale (en): secret (CHANGE_ME_TO_SOMETHING_SECRET_AND_RANDOM): twofactor_auth (true): twofactor_sender ([email protected]): fosuser_registration (true): fosuser_confirmation (true): fos_oauth_server_access_token_lifetime (3600): fos_oauth_server_refresh_token_lifetime (1209600): from_email ([email protected]): rss_limit (50): rabbitmq_host (localhost): rabbitmq_port (5672): rabbitmq_user (guest): rabbitmq_password (guest): rabbitmq_prefetch_count (10): redis_scheme (tcp): redis_host (localhost): redis_port (6379): redis_path (null): redis_password (null): sentry_dsn (null):配置完成。
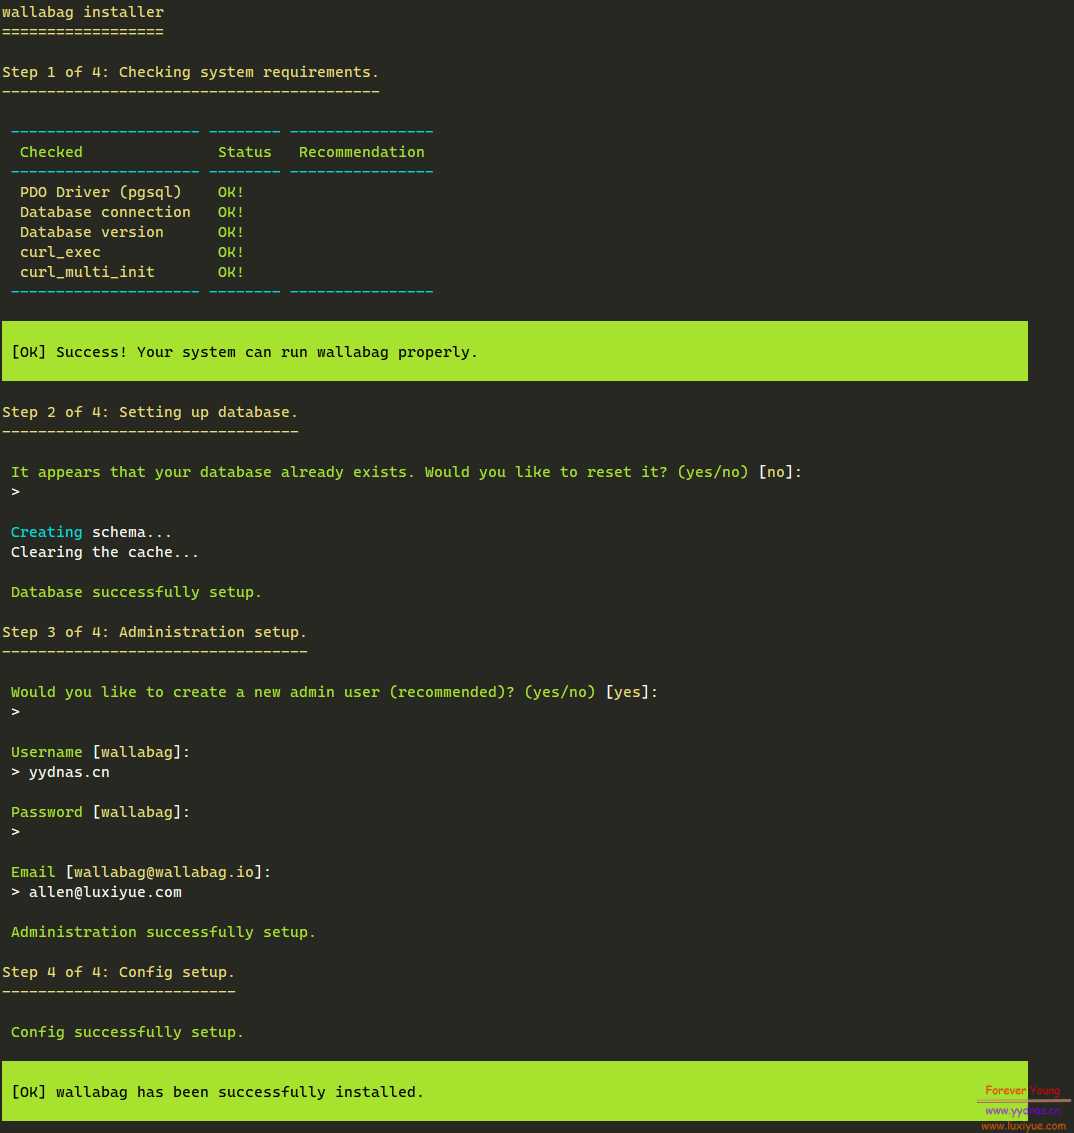
完成前面的步骤后,输入下面命令: php bin/console wallabag:install --env=prod #生产环境,也可以是test或者dev这过程会让你输入Wallabag的管理员 Step 3 of 4: Administration setup. ---------------------------------- Would you like to create a new admin user (recommended)? (yes/no) [yes]: > Username [wallabag]: > yydnas.cn #你的登录名 Password [wallabag]: > #登录密码 Email [[email protected]]: > [email protected] #邮箱,可以不填,如果上面配置了邮箱的信息,这边建议填写
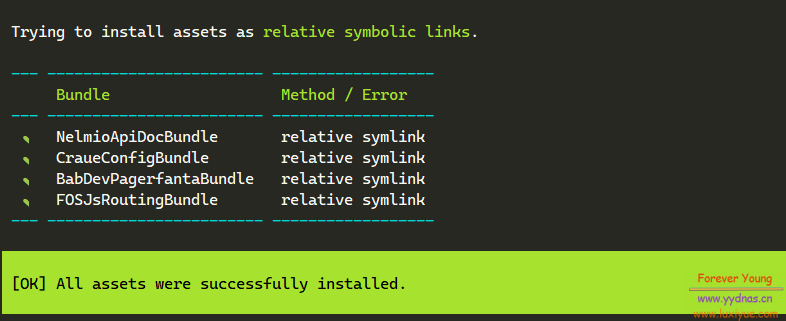
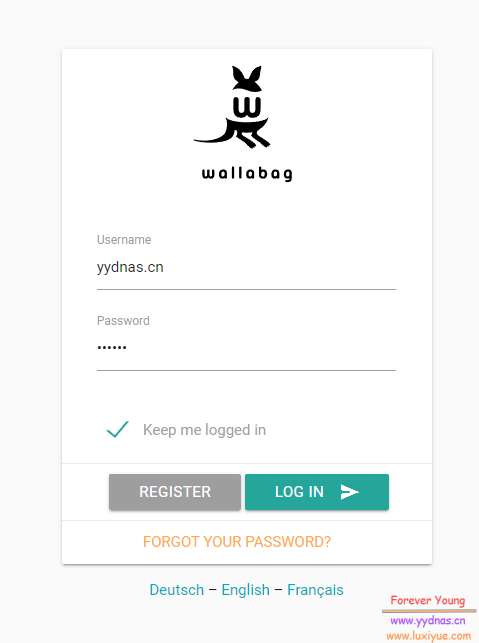
nginx的配置文件如下,Apache2的可以参考官方文档。 server { server_name domain.tld www.domain.tld; root /var/www/wallabag/web; location / { # try to serve file directly, fallback to app.php try_files $uri /app.php$is_args$args; } location ~ ^/app\.php(/|$) { # if, for some reason, you are still using PHP 5, # then replace /run/php/php7.0 by /var/run/php5 fastcgi_pass unix:/run/php/php7.0-fpm.sock; fastcgi_split_path_info ^(.+\.php)(/.*)$; include fastcgi_params; # When you are using symlinks to link the document root to the # current version of your application, you should pass the real # application path instead of the path to the symlink to PHP # FPM. # Otherwise, PHP's OPcache may not properly detect changes to # your PHP files (see https://github.com/zendtech/ZendOptimizerPlus/issues/126 # for more information). fastcgi_param SCRIPT_FILENAME $realpath_root$fastcgi_script_name; fastcgi_param DOCUMENT_ROOT $realpath_root; # Prevents URIs that include the front controller. This will 404: # http://domain.tld/app.php/some-path # Remove the internal directive to allow URIs like this internal; } # return 404 for all other php files not matching the front controller # this prevents access to other php files you don't want to be accessible. location ~ \.php$ { return 404; } error_log /var/log/nginx/wallabag_error.log; access_log /var/log/nginx/wallabag_access.log; }配置完后记得给权限,不然就返回 500 了。 chown -R www-data:www-data /var/www/wallabag chmod -R 755 /var/www/wallabag 访问正常访问,输入账号密码即可登录
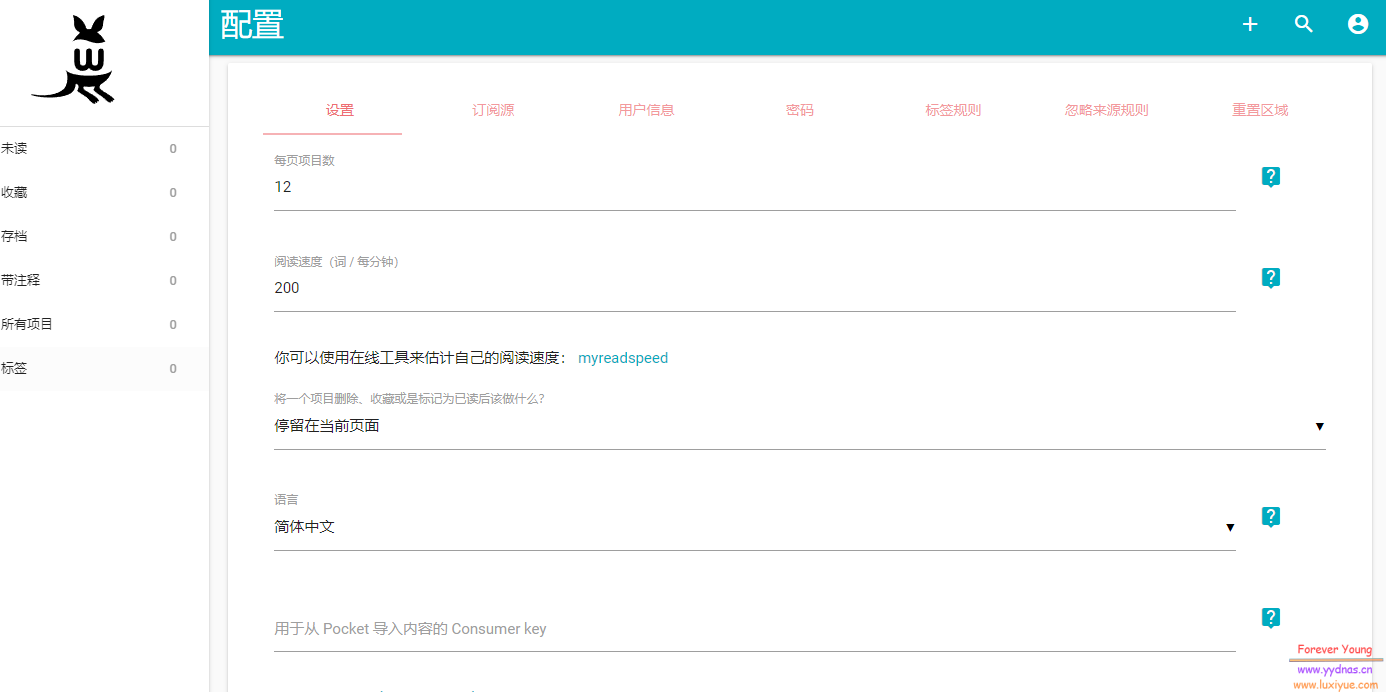
点击右上角 头像 > config ,就在这个页面找到 Language ,修改为 简体中文 ,然后点击保存即可。
默认情况下,wallabag 并不保存图片到本地,登录后在 内部设置 > 杂项 ,将在 本地缓存图片 修改为 1 即可。这样如果源文章没有了,也不会影响以后阅读。
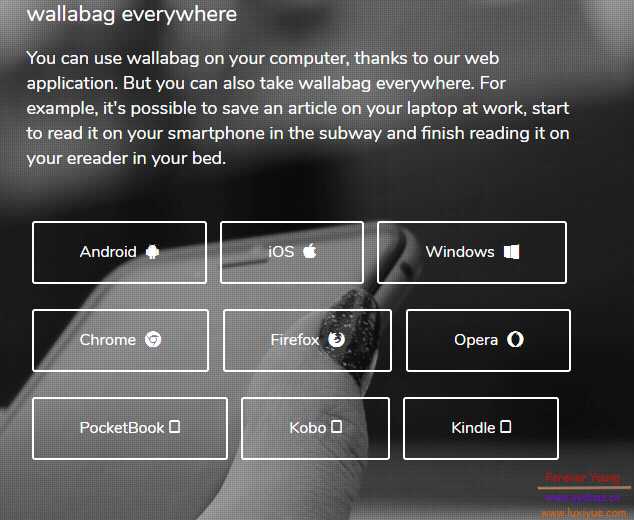
这就是它的强大之处,搭配它的应用,让你在任何地方都能使用。 访问 https://wallabag.org/en 进行下载。
这个应用对于我个人来说,我是会继续使用下去,平时阅读一些技术相关的文章的时候,需要保存下来细细琢磨一下。 这也是由于在浏览器中保存书签的形式不利于浏览,而且很多都无法跨平台,就算比如Edge浏览器等保存的书签还要点击好几下才能把它调出来。 这个程序本质上还是可以给我节省很多时间的。 后记一开始在看文档的时候,感觉很简单的一款程序,都不用特地发个文章来记录,但是自己搭建过后,发现还是有点问题,尤其是中间遇到了些问题,在搜索相关信息的时候,很难搜到一个原生搭建的教程,90%以上都是基于Docker搭建的,导致问题出来还要再去翻翻源代码才能判断大致需要怎么处理。于是才有了这篇文章。 |


【本文地址】